
This is interesting. I was asked, How to enter data in Excel Power Query? This means entry will be directly done into Power Query Editor and no records will be displayed in the workbook.
Currently, this feature is available in Power BI “Enter Data” which allows users to enter the data directly into the Power Query.
Why it is not in Excel? Well, Excel already has spreadsheets to store the records and allow us to pull those entries in Power Query, so this feature is not much required and that is the reason you cannot find in Power Query for Excel.
However, if we need to have such kind of Enter Data table in Excel this is possible with a simple trick.
Step to follow
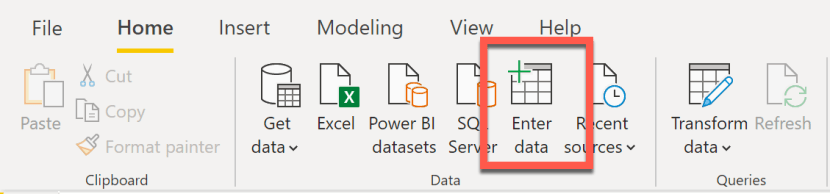
- Open PowerBI
- Click on Home Ribbon Tab > Enter Data
- Create Table window will open > Click on Edit which will load this table into Power Query editor

- We can remove the Change Type step
- In Ribbon Tab go to View > Advanced Editor

- Copy the M code that is generated in the editor.
If you don’t have Power BI, no worries you can copy the code below
let
    Source = Table.FromRows(Json.Document(Binary.Decompress(Binary.FromText("i44FAA==", BinaryEncoding.Base64), Compression.Deflate)), let _t = ((type nullable text) meta [Serialized.Text = true]) in type table [Column1 = _t])
in
    Source
Now time to do some (m)agic 🔮 in Excel
- Open Excel
- Under the Data Ribbon Tab > Get Data > From Other Sources > Blank Query

- Excel Power Query Editor will be launched.
- Go to View Ribbon Tab > Advanced Editor
- Remove the M code which is already generated in Excel Advanced Editor
- Paste the M code which we have copied from Power BI

- Click Done
You will find Column1 in the display area screen.
- Click on the Source Setting Gear ⚙️ Icon, that will open the Create Table window.

This look great and we have our table ready to enter the records.

If you wish to delete any entry, go back to the source step and click on setting gear ⚙️ icon
- Go To Home Ribbon Tab > Click On Close and Load to…
- Select option Only Create Connection
In this way, our data will be always as a connection in the Power Query Editor and not loaded into the workbook as tables.
How did this work?
M language – Power Query in Power BI and Excel are having the almost same set of functions. So we use this trick, just by copying the M code that was generated in Power BI and pasted it into Excel.
Check out the video with some more amazing examples.
Video
Subscribe to YouTube Channel for Exciting Tips & Tricks On Office Applications
Was the information helpful in this blog?
- If yes, hit that share button and show the excitement to the world.
- Subscribe to our free posts.
If no, please let us know what to improve.
Having trouble with any Office Apps. Feel free to ask and answer queries at our forums section.